My flower pot broke!
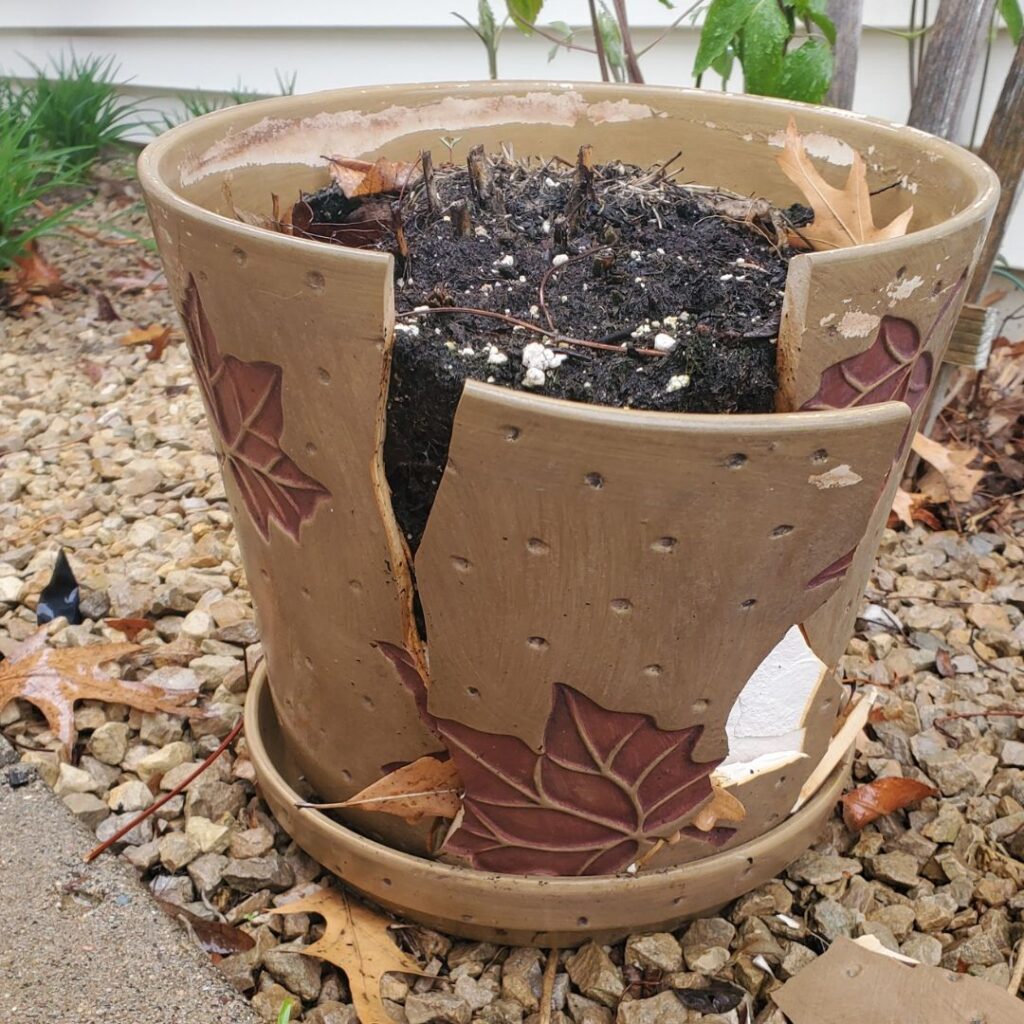
I’ve had this flower pot for years and love the design on it. So this past winter when I found it broken one day, I almost cried. Ok, I didn’t cry, but I was pissed. I was mad. I was angry. And I didn’t have the heart to throw it away just yet. So I left it sit there, broken.
Then spring came and it was getting time to get my flower pots ready for summer. I looked at my poor broken flower pot and wondered if there was some way I could reuse it so I didn’t have to toss it in the garbage can.
So the research began to reuse one of my favorite flower pots.
What can you do with a broken flower pot?
I wanted to know if there were any unique ways to reuse a broken flower pot and if so, could I use mine. So I started researching to see what I could find out.
Well, I found out there are a number of uses for broken flower pots.
- shard “carpet”
- fairy garden
- frog hideaway
- decorative mulch
- plant markers
- garden edging
- and more!
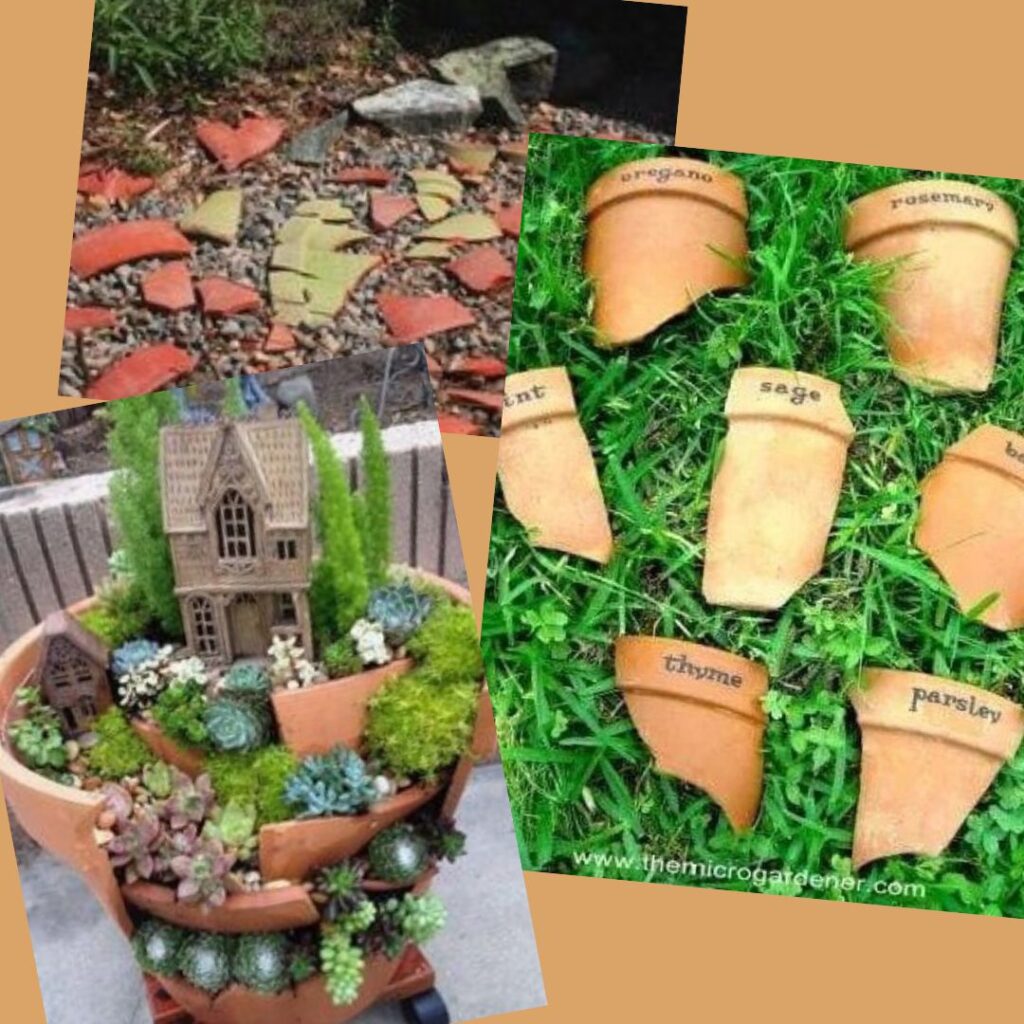
After finding all these uses, I was so happy that I could find a use for my broken flower pot. Now I just had to figure out which idea I liked the best. I thought they all were good ideas.
I took into consideration my broken pot, where I would put it, the space I had to use, sunlight and my personal taste.
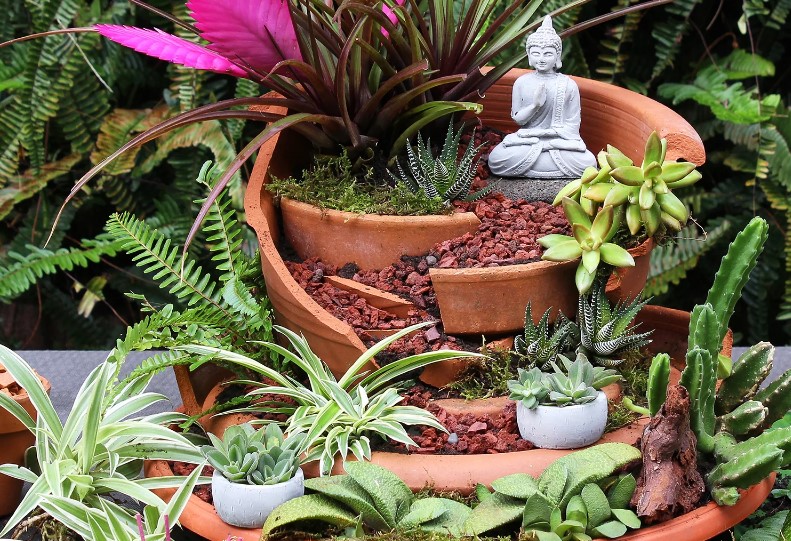
I wanted the theme to be peaceful and serene. Because that’s what gardens are, right? A place of relaxation and calmness. So I went with this idea:
Gathering what I needed
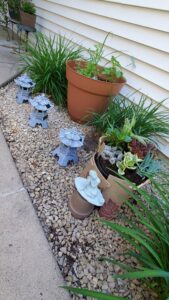
First I went online to find the figurine and pagoda that would suit my needs. I found a number to chose from and prices ranged all over. I finally settled on some solar powered pagodas and a resting Buddha.
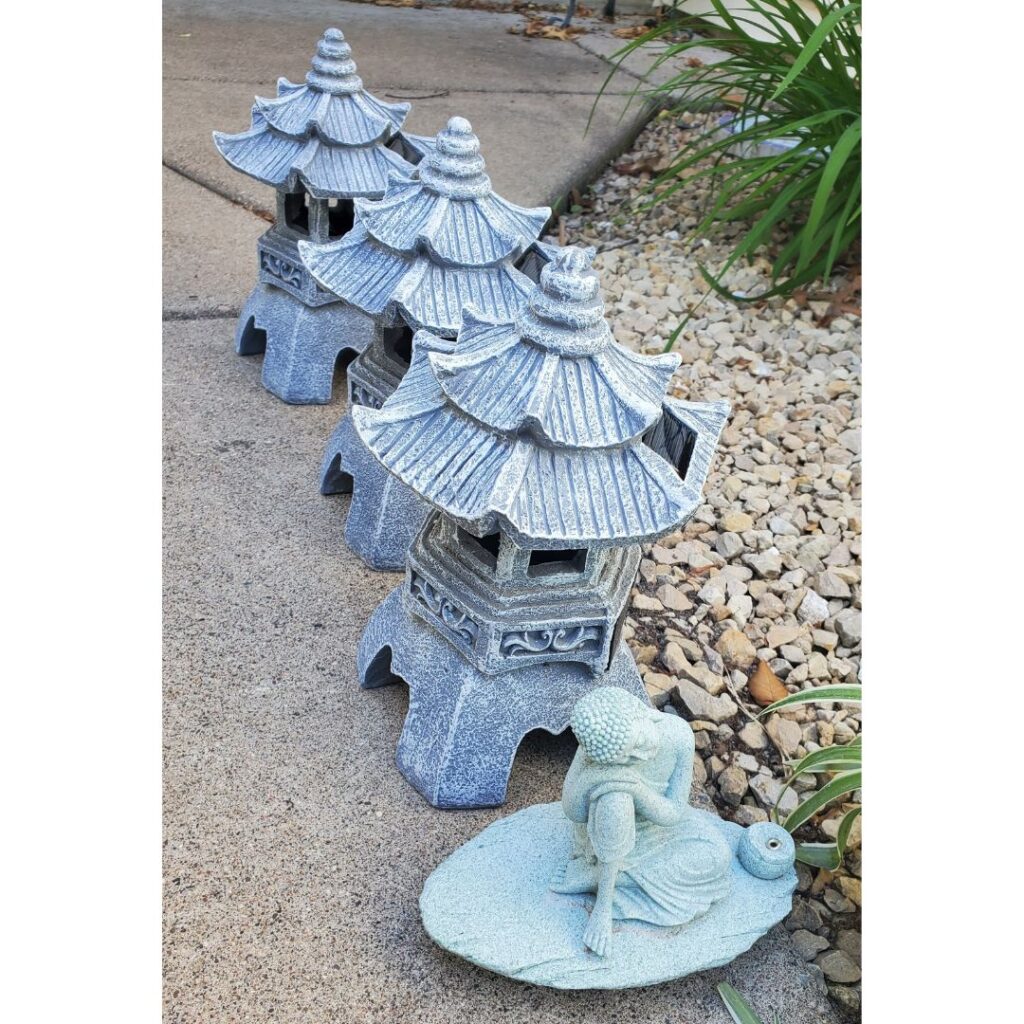
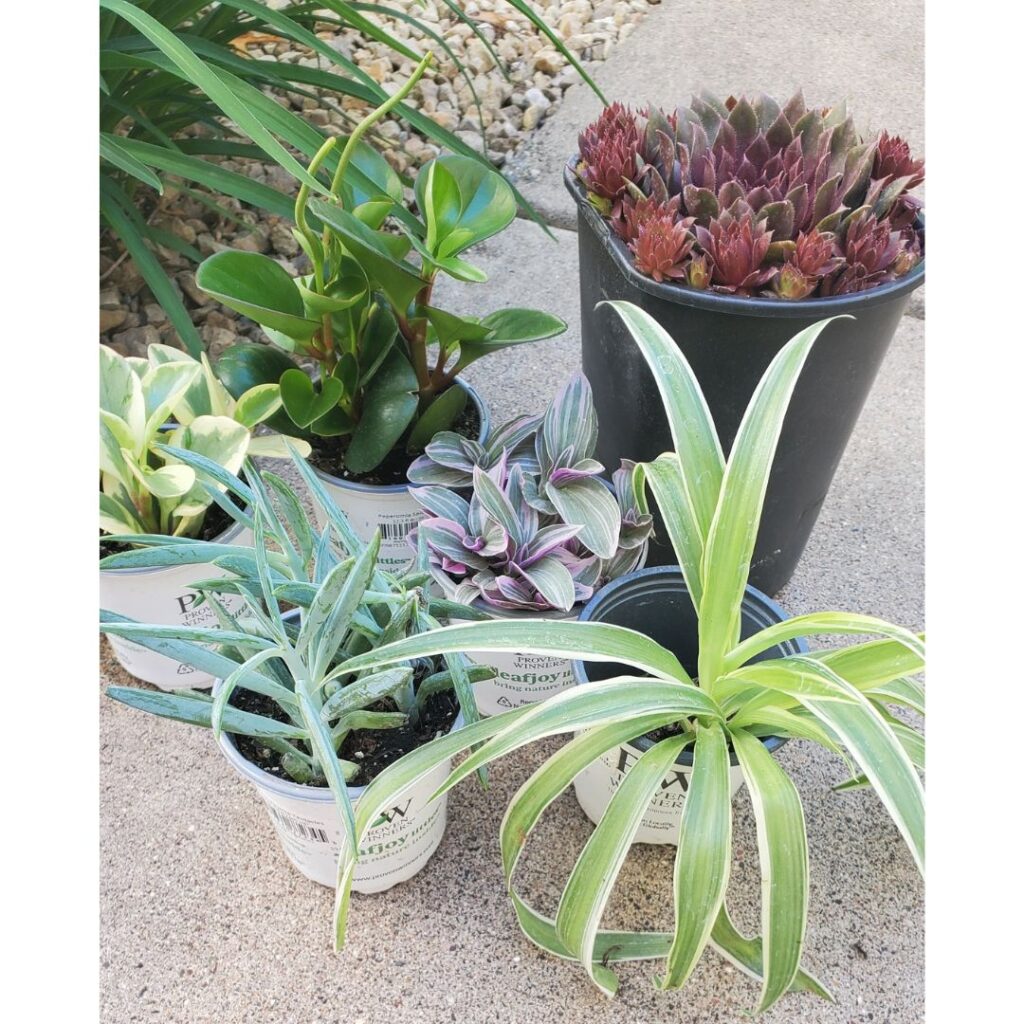
Once they arrived, I headed over to the garden center to find the right plants. I wanted a variety of succulents to showcase the resting buddha and not overtake the space.
After about 45 minutes of collecting potting soil and checking out my plant options, this is what I ended up with.
Putting everything together
I started out by rearranging the plants and figurine till I liked the placement. I’m not creative by any means, so it was daunting and I started to wonder if I took on something I shouldn’t have. But after a number of tries, I finally settled on a display I liked.
I took the plants out of the plastic pots and put everything in place. Once I was happy with the final layout, I filled in all the crevices with fresh potting soil.
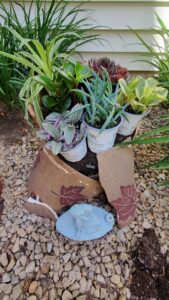
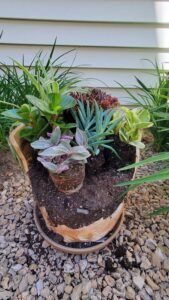
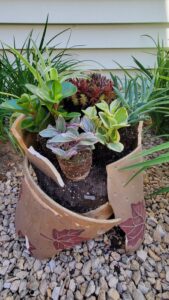
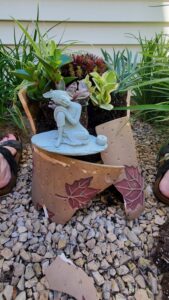
I was able to easily fill in the sides and back with potting soil. But the front was another issue. I needed to come up with a way to hold the soil in.
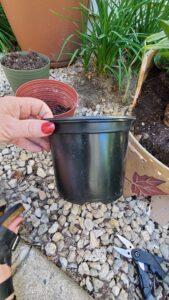
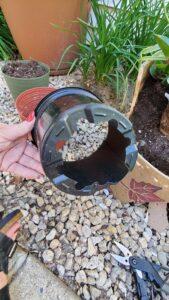
I rearranged the pot sherds a few times, but decided that wasn’t going to work. Then an idea hit me. Use a plastic pot one of the plants came in! So I cut out the bottom and cut out a 1/4 from the plastic pot side. I tucked it behind one of the shards and that helped hold in more potting soil.
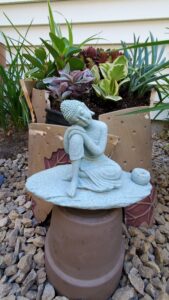
Drum roll please! My reused broken flower pot!
I am finally finished with putting together my reused broken flower pot! I know it could use some tweaks. Like filling in the holes with moss, to help cover up the soil. It’s not exactly what I had originally planned out in my mind, but I did say I’m not the creative type.
But I am happy I was able to find a nice way to reuse my broken flower pot.
